Icon on stone: how the image is transferred to the slab
We are used to seeing an icon on a wooden panel indoors. An icon on stone also goes where indoors ends: onto a façade, a gate, a bell tower.
So it does not begin with the image. It begins with the place.
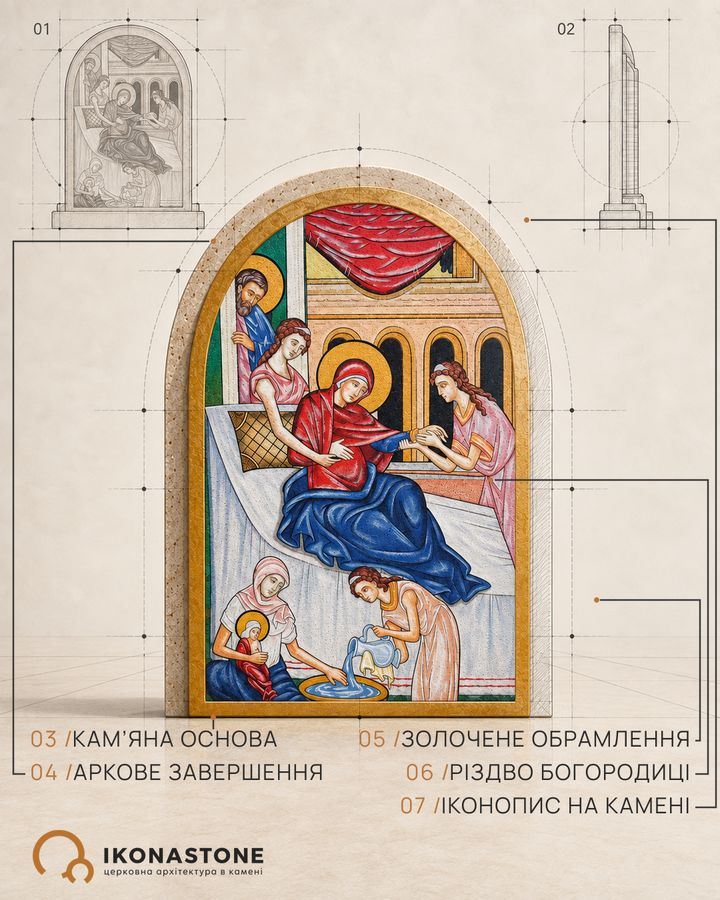
We need three things: where the icon will stand, at what height, and what it will be set into. If the wall already has a niche, we take the shape from it. A circle, a rectangle, an arch. If there is no niche, the façade suggests the shape.
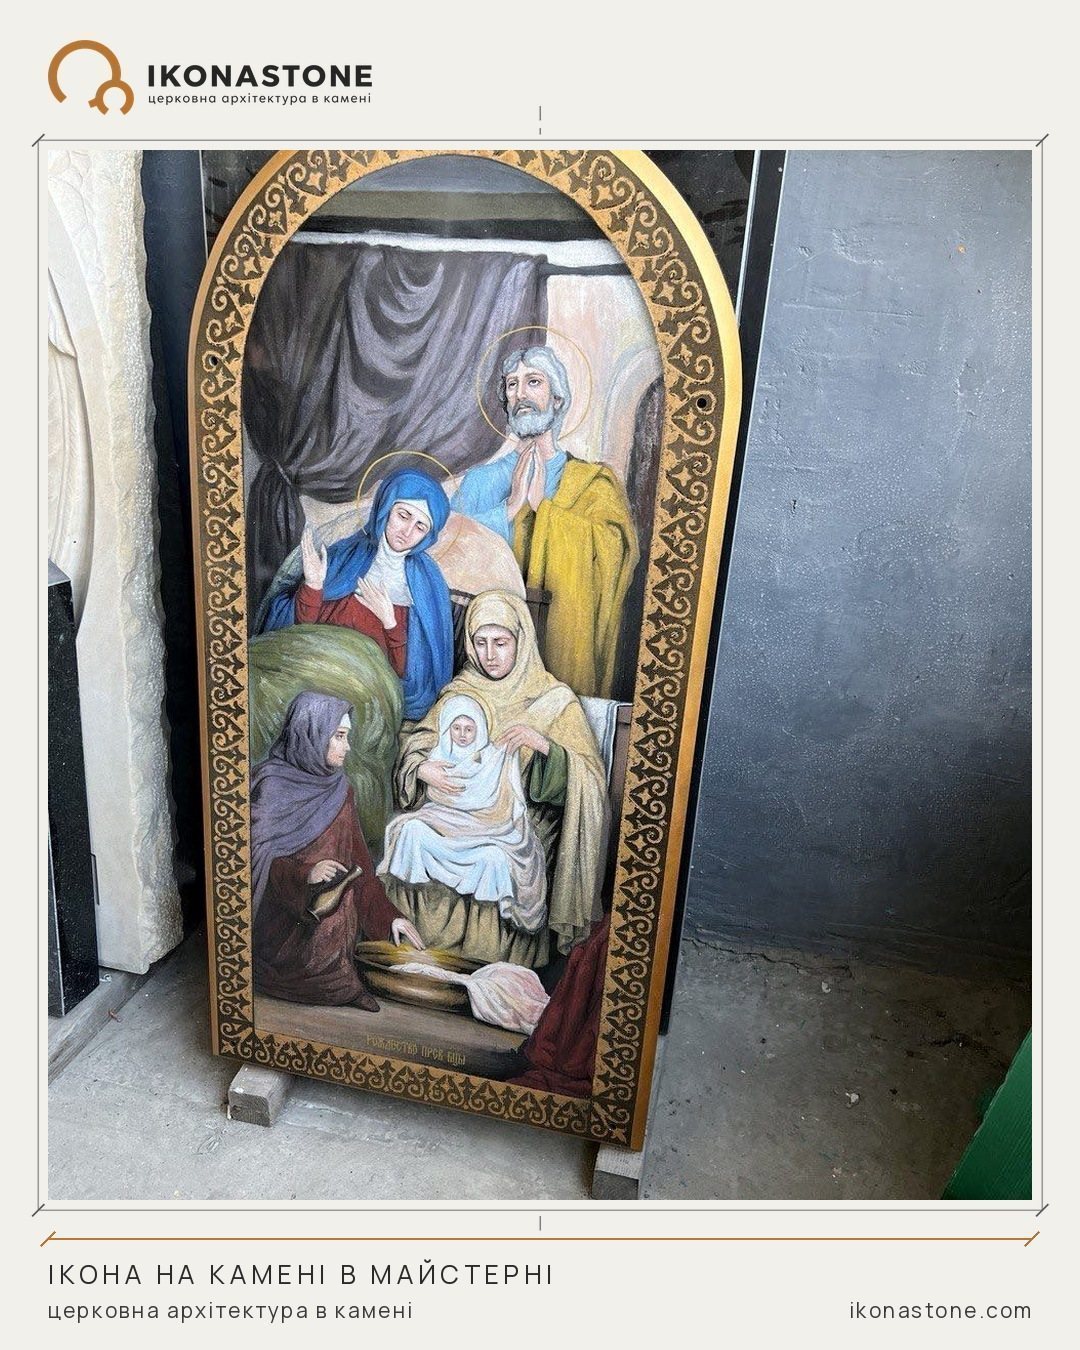
Then the stone. The image passes onto it in two steps. First the image is engraved on the stone with a diamond tool. Then the engraving is painted with a special pigment.
Such icons do not fear the weather, so they are placed in the open air.
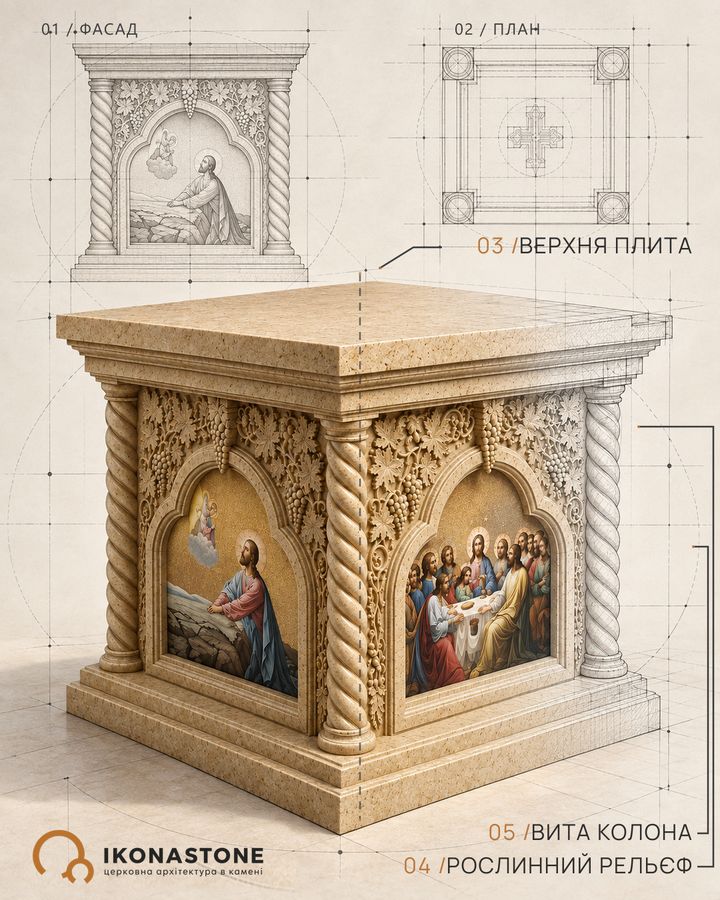
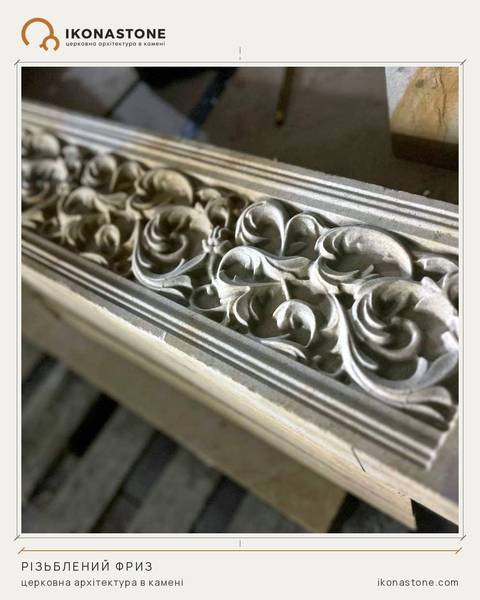
There are two small things that take up a few millimetres on the drawing and decide a great deal on the wall. The first is the fixing holes. We provide for them in advance: nobody wants to drill into a finished icon up on the scaffolding. The second is the framing. On request we frame the icon with a carved surround. On a large façade it separates the image from the wall and gives it a shadow of its own.
We have written separately about how height changes the size of the image and the letters: an icon on a façade.
If you are planning an icon on stone for a façade or a wayside shrine, send a photograph of the place and the dimensions of the niche. That is where we will start.